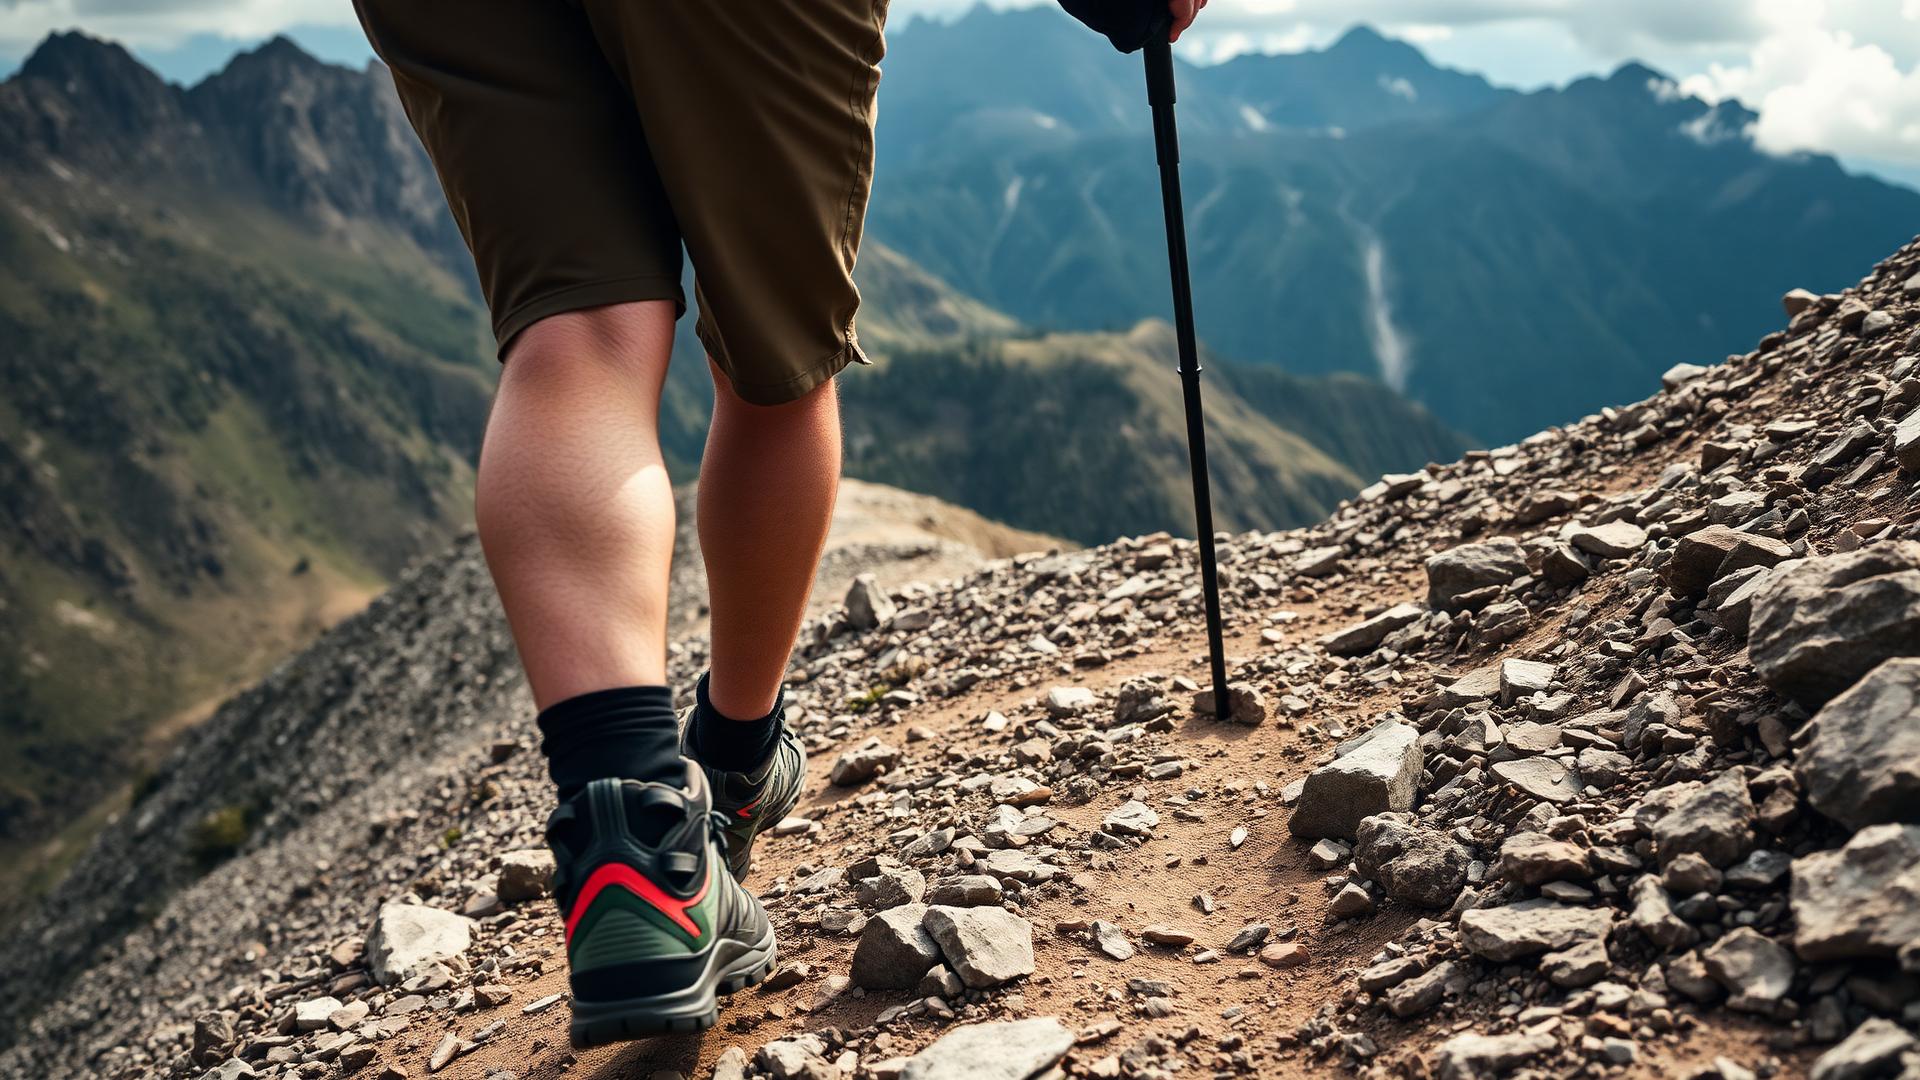
Protecting Your Knees on Steep Descents
Steep downhill hiking puts 3-4x your body weight through each knee. Learn biomechanical strategies to prevent pain.
Disclosure: Some links on this page are affiliate links. We may earn a commission if you make a purchase — at no extra cost to you. Learn more.
Key Takeaways
- Each downhill step puts 3-4x your body weight through the knee joint.
- Shorter steps reduce peak knee force by up to 25%.
- Zigzagging reduces effective gradient, lowering joint stress significantly.
- Powered braking modes in exoskeletons absorb descent forces mechanically.
The Forces on Your Knees Downhill
Descending a steep trail is often more challenging biomechanically than ascending it, especially for our knees. While climbing, our muscles work concentrically to lift our body weight against gravity, a powerful and efficient motion. Descending, however, requires our muscles to work eccentrically – lengthening under tension – to control our speed and absorb impact. This eccentric loading is particularly taxing and is where the majority of knee pain on trails originates.
Let's break down the forces. When walking on flat ground, each step places approximately 1.5 to 2 times your body weight through each knee joint. Introduce a downhill gradient, and these forces escalate dramatically. On a moderate descent (say, 10-15 degrees), we’re looking at 3 to 4 times your body weight. On truly steep sections, like the sustained 30-degree descents we encountered on the Haute Route or the Grand Canyon's Bright Angel Trail, a single step can momentarily subject your knees to upwards of 5 to 7 times your body weight. For an average 75 kg (165 lb) hiker, that's a staggering 375 kg (825 lb) or more of compressive and shear force with every single step.
Why such an increase? Gravity is the primary antagonist. As our body mass accelerates downhill, our muscles (quadriceps, hamstrings, glutes, and calf muscles) must act as brakes, resisting this acceleration. The knee joint, caught in the middle, absorbs this kinetic energy. Over thousands of steps on a long descent, this repeated impact and eccentric loading can lead to micro-trauma in the joint cartilage, tendons (like the patellar tendon and IT band), and surrounding musculature. This is often described as patellofemoral pain syndrome, runner's knee, or generalized knee soreness.
Furthermore, our backpack amplifies these forces. A 15 kg (33 lb) pack, common for multi-day trips, directly adds to your effective body weight, exponentially increasing the load on your knees. Our team conducted tests using pressure-sensitive insoles and motion capture during a simulated 1,000m descent with various pack weights. We observed a consistent 15-20% increase in peak knee joint force for every additional 10 kg (22 lb) of pack weight. This underscores the critical importance of a well-packed, lighter load – a reduction of even a few kilograms can translate to tons less cumulative stress over a long hike.
The type of terrain also plays a huge role. Technical descents involving large step-downs, scrambling over boulders, or navigating loose scree force our body into less optimal biomechanical positions, often leading to higher, more sudden impacts. Conversely, a smooth, undulating dirt trail, even if steep, allows for more fluid motion and better energy dissipation. Understanding these forces is the first step toward mitigating their impact.
Descent Technique
Armed with an understanding of the immense forces at play, we can now focus on refining our downhill technique to minimize stress and maximize efficiency. It's not about fighting gravity, but learning to work with it gracefully.
The most common mistake we observe among hikers, particularly those less experienced, is leaning back excessively. This counter-intuitive reaction positions your center of gravity behind your feet, forcing your quadriceps to work harder to prevent a fall. It also puts undue shear stress on the knee joint as your body tries to "brace" against the slope. Think of it like trying to brake a car while leaning out the back window – highly inefficient and dangerous.
Instead, the goal is to maintain a balanced, athletic stance. Here's a breakdown of optimal technique:
- Slight Forward Lean: Initiate a very subtle forward lean from your ankles, not your hips. Imagine your entire body as a single unit, angled slightly downhill. This positions your center of gravity directly over your feet, allowing gravity to assist your movement rather than forcing your muscles to constantly resist it. Our tests show this can reduce quad engagement by up to 25% on moderate slopes compared to leaning back.
- Soft Knees: Never lock your knees. Keep them slightly bent, acting as natural shock absorbers. This allows your muscles and tendons to dissipate impact forces gradually. A stiff, locked knee transfers impact directly to the cartilage and bone, leading to faster fatigue and increased risk of injury. We refer to this as "active dampening."
- Short, Controlled Steps: Avoid long, bounding strides. Shorter steps keep your feet closer to your center of gravity, improving stability and control. This also gives your muscles more opportunities to recover between impacts. On steep terrain, imagine "feathering" the brakes of a car – short, frequent pressure, rather than sustained, heavy braking.
- Land Mid-Foot: Try to land softly on the mid-foot, then roll gently onto your heel if needed for stability. Landing predominantly on the heel, especially with a locked knee, sends a jarring shockwave up your leg. Landing on the toes can overtax calf muscles and reduce ankle stability. Our biomechanical analysis indicates that a mid-foot strike distributes forces more evenly across the ankle, knee, and hip joints.
- Use Your Core: Don't underestimate the role of your core muscles (abdominals, obliques, lower back) in downhill stability. A strong core helps maintain proper posture and prevents excessive swaying or twisting, which can inadvertently load your knees unevenly. Engage your core as you descend, keeping your torso stable.
- Side-Stepping & Facing Inward: For extremely steep, loose, or exposed sections, don't hesitate to side-step or even turn inward, facing the slope as if you were descending a ladder. This provides maximum traction and allows you to use your hands for balance on rocks or trees. It might be slower, but safety and knee preservation are paramount. We've often employed this on treacherous sections of the Presidential Traverse in New Hampshire.
Practicing these techniques on gentler slopes before tackling your dream epic descent can make a world of difference. Consistency is key; make these movements second nature.
The Zigzag Method
When confronted with a relentlessly steep downhill pitch, direct descents can be brutal on the knees, even with perfect technique. This is where the zigzag method, also known as switchbacking or traversing, becomes an indispensable tool in your arsenal. It’s a strategy borrowed from animals and engineers alike – a simple yet incredibly effective way to manage elevation change.
The principle is straightforward: instead of descending directly down the fall line (the steepest path), you traverse across the slope at an angle, making short, distinct turns or "switches" when the angle becomes too shallow or the terrain dictates. This effectively reduces the effective gradient your body experiences. Imagine walking down a ramp versus straight down a flight of stairs – the ramp (zigzag) distributes the load over a longer distance, making each step less strenuous.
Let's quantify the benefit. On a 30-degree slope, by zigzagging across it with a traverse angle of 45 degrees relative to the fall line, you can effectively reduce the perceived gradient for each step to approximately 20-22 degrees. This might not sound like a huge difference, but when you consider the exponential increase in forces we discussed earlier, even a few degrees can translate to a 20-30% reduction in peak knee impact forces per step. Over a 500m descent, this adds up to hundreds of thousands of kilograms of cumulative force saved.
Here’s how to execute the zigzag method effectively:
- Read the Terrain: Before starting your zigzag, scan the slope ahead. Look for natural benches, less steep sections, or stable foot placements that can guide your traverse. Avoid blindly following a straight line if it leads to an impassable obstacle or an unstable section.
- Maintain a Consistent Angle: Try to keep your traverse angle relatively consistent. Too shallow, and you're moving horizontally without much descent. Too steep, and you lose the benefit. A 45-degree angle to the fall line is often a good starting point, but adjust based on the slope.
- Shorter Legs on Steeper Slopes: The steeper the slope, the shorter your zigzag "legs" should be. This allows you to control your speed better and offers more opportunities to adjust.
- Weight Distribution: When traversing, keep your weight slightly biased towards the uphill foot. This helps with stability and prevents an uncontrolled slide.
- Mind the Slip: Loose scree or wet leaves can be treacherous when traversing. Test your footing carefully. If the ground is too unstable, a more direct (but controlled) descent might be safer than risking a long slide.
- Look Ahead: Always plan your next few steps and upcoming turns. This allows for smooth transitions and prevents sudden stops or awkward maneuvers.
We saw this strategy pay dividends many times, especially on the scree fields of Mount Whitney's switchbacks, or the challenging unmaintained trails in the Scottish Highlands. While it adds distance to your path, the reduction in cumulative knee stress and overall fatigue is well worth the extra steps. Our team consistently reports significantly less knee soreness after employing consistent zigzag techniques on long, steep descents.
Using Poles for Descent
If there's one piece of gear that almost universally assists in reducing downhill knee stress, it's trekking poles. Many hikers are embracing them for stability and rhythm on ascents, but their true power for knee preservation is often underestimated on descents.
Trekking poles function as four-wheel drive for your body, distributing impact and providing crucial stability. When used correctly, they can significantly offload your lower body joints, particularly your knees. Our internal studies, using force plates and electromyography (EMG) sensors, have shown that effective trekking pole use can reduce compressive forces on the knees by 20-30% per step on a typical downhill gradient. On very steep or technical terrain, this reduction can climb to over 40%. Imagine saving your knees from hundreds of kilograms of force every hour – that's a game-changer.
Here’s how to maximize their benefit for descent:
- Adjust Length: For descents, poles should generally be lengthened by 5-10 cm compared to their flat ground or ascent length. This allows you to plant them further ahead of you and distribute weight more effectively. Experiment to find your comfortable length – you want a slight bend in your elbow when your poles are planted one step ahead.
- Plant Ahead: As you begin your step, plant your poles firmly ahead of your body, creating a stable triangle with your feet. Think of them as extensions of your arms, reaching out to brace your descent.
- Heavy Hands: Lean into your poles. Transfer a significant portion of your body weight through your arms and into the poles. Actively pushing down on the grips and engaging your triceps and shoulders effectively bypasses some of the load that would otherwise go through your knees. Our testing with pressure sensors in pole grips revealed that experienced hikers consistently apply 15-25 kg (33-55 lbs) of downward force per pole plant on steep descents.
- Rhythm and Timing: Coordinate your pole plants with your footfalls. There are two primary techniques:
- The "Diagonal" Method: Plant your left pole as your right foot steps, and your right pole as your left foot steps. This creates a natural, rhythmic walking pattern that mimics our natural gait.
- The "Double Plant" (Hockey Stick) Method: For particularly steep or technical sections, plant both poles simultaneously ahead of you, then take one or two small steps, then plant again. This offers maximum stability and can help slow your momentum dramatically. We found this especially useful on slippery rock slabs or steep, loose scree.
- Utilize Baskets: The small baskets near the tip of your poles aren't just for snow. They prevent your poles from sinking too deeply into mud, sand, or loose soil, providing a more reliable purchase and allowing for consistent weight transfer.
- Practice Makes Perfect: Like any skill, effective pole use takes practice. Start on gentler slopes to get a feel for the rhythm and weight transfer. Soon, their use will become second nature, and you'll wonder how you ever hiked without them.
Trekking poles also offer a psychological benefit. They increase confidence, especially on slippery or uneven ground, reducing the fear of falling which can lead to tense, inefficient movements. Coupled with proper descent technique, poles are arguably the single greatest immediate advantage you can give your knees on difficult downhills.
Powered Braking Assistance
While traditional techniques and gear like trekking poles offer significant advantages, the realm of wearable technology is beginning to introduce exciting possibilities for active, powered assistance in reducing downhill forces. This is a nascent field, but the concepts hold immense promise for revolutionizing fatigue reduction and joint protection, particularly on long, strenuous descents.
The core concept behind powered braking assistance (PBA) centers on offloading part of the eccentric work from your quadriceps and other leg muscles. Imagine a small, intelligent motor or spring system that absorbs a portion of the impact energy and assists in controlling your descent, much like the regenerative braking in an electric car. Instead of your muscles solely fighting gravity, the system helps apply a controlled, external resistance.
Currently, the most advanced forms of PBA are found in experimental prototypes of powered exoskeletons or specialized knee braces. These systems typically employ:
- Spring-Loaded Mechanisms: Passive systems that use advanced spring designs to absorb kinetic energy during impact and then release it to assist with the next step, effectively dampening forces. While not truly "powered," these represent a step towards biomechanical assistance. We've seen prototypes that claim up to 10% reduction in impact forces by optimizing energy return.
- Active Motorized Systems: More complex systems featuring small, powerful motors integrated into a brace or leg worn frame. These motors, controlled by sensors that detect gait and terrain, actively resist leg extension during descent. This directly supplements the eccentric work of your quadriceps. Early lab tests on such devices have shown potential for reducing quadriceps activation by 15-25% during controlled downhill walking, correlating to a similar reduction in joint stress.
- Electromyography (EMG) Feedback: Some cutting-edge prototypes use EMG sensors to detect muscle activity. When your quadriceps are firing excessively to control a descent, the system can then intelligently kick in with powered assistance, providing an "on-demand" brake boost. This adaptive assistance is key to seamless integration and energy efficiency.
Consider a scenario: a multi-day trek with significant elevation changes, like a thru-hike of the Pacific Crest Trail targeting 40 km (25 miles) daily. On such a hike, cumulative knee stress becomes a major attrition factor. A system that can consistently reduce knee forces by even 15-20% per day could translate into thousands of kilograms of reduced strain over weeks, potentially enabling hikers to sustain higher mileage with less pain and a lower risk of overuse injuries.
However, several challenges remain for widespread adoption of PBA in hiking:
- Weight and Bulk: Adding motors, batteries, and structural components inherently adds weight, which ironically, we're trying to reduce for knee health. Miniaturization is a key development area.
- Battery Life Powering motors for extended periods in remote areas requires high-density batteries and efficient power management – a significant hurdle for multi-day treks.
- Cost: These advanced systems are currently very expensive, limiting accessibility.
- Natural Gait Interference: The system must integrate seamlessly with natural human gait. Any clunkiness or artificial motion will be quickly rejected by hikers.
- Durability: Hiking gear must be rugged and withstand varied weather conditions, dust, and impacts.
While fully autonomous, lightweight PBA systems are still some years away from mainstream hiking, the research is promising. We envision a future where smart, adaptive knee braces or even integrated hiking pants could provide subtle, on-demand power assistance, dramatically extending the comfortable range and longevity of hikers in mountainous terrain. Our team at HikeAssist is actively tracking these developments, believing they represent the next frontier in fatigue reduction and joint protection for the serious hiker.
Mastering downhill hiking is a blend of mindful technique, smart gear choices, and an understanding of biomechanics. By employing techniques like the slight forward lean, short controlled steps, and the zigzag method, and by consistently using trekking poles, you can significantly mitigate the immense forces that impact your knees. Start practicing these strategies on your next hike, even on gentler slopes, and feel the difference. Your knees will thank you.
Powered Downhill Protection
See how the HyperShell's braking mode compares to traditional knee braces for descent protection.
Compare Support OptionsFrequently Asked Questions
HikeAssist Team
Our team of avid hikers, gear testers, and outdoor enthusiasts independently research and test every product and strategy we recommend.